Craving a sweet treat that’s both chewy and rich? Look no further than these Salted Caramel Chocolate Chip Cookies! This delightful recipe combines gooey caramel, semi-sweet chocolate chips, and a dash of sea salt for the perfect balance of flavors. Whether you’re baking for friends or indulging yourself, these cookies will hit the spot. Let’s dive into the simple steps to create your new favorite dessert!
Why I Love This Recipe
- Irresistible Flavor: The combination of sweet caramel and rich chocolate creates a decadent treat that everyone will love.
- Perfect Texture: These cookies are soft and chewy with a slight crisp on the edges, making them absolutely delightful.
- Quick and Easy: With just 30 minutes from start to finish, you can enjoy freshly baked cookies in no time!
- Customizable: You can easily adapt this recipe by adding nuts or using different types of chocolate for a unique twist.
Ingredients
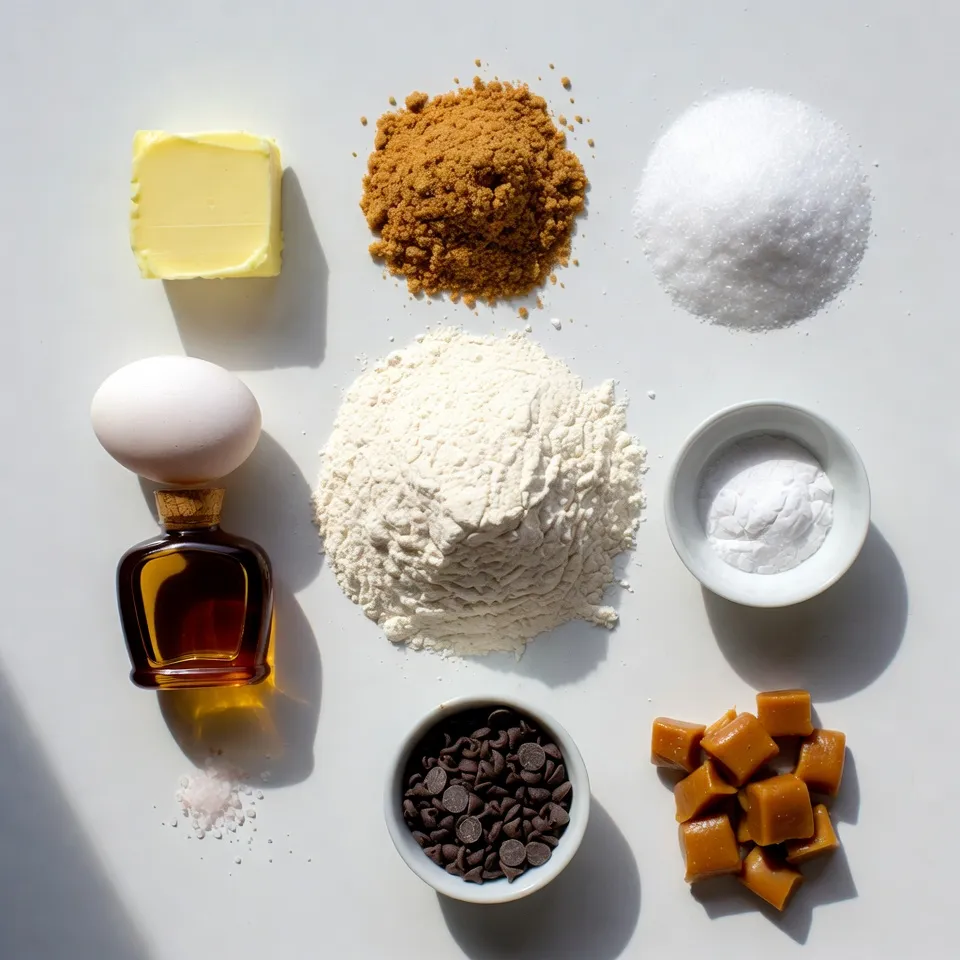
To make these salted caramel chocolate chip cookies, you’ll need a few key items. Here’s what you should gather:
– 1 cup unsalted butter, softened
– 3/4 cup brown sugar, packed
– 1/2 cup granulated sugar
– 1 large egg
– 2 teaspoons vanilla extract
– 2 cups all-purpose flour
– 1/2 teaspoon baking soda
– 1/2 teaspoon sea salt
– 1 cup semi-sweet chocolate chips
– 1/2 cup soft caramel candies, chopped
– Extra sea salt for sprinkling
These ingredients bring together the rich flavors of caramel and chocolate. The unsalted butter gives you control over the saltiness. Brown sugar adds depth and moisture, while granulated sugar helps the cookies spread. The egg acts as a binder, keeping everything together.
Vanilla extract brings warmth and sweetness. All-purpose flour is the base, and baking soda helps the cookies rise. Sea salt enhances the flavors, balancing the sweetness. Semi-sweet chocolate chips add a delightful bite, and soft caramel candies create gooey pockets of joy. Finally, the extra sea salt on top makes every bite pop.
With these ingredients, you’re set to create cookies that are not just tasty, but also fun to make. Enjoy the process!
Step-by-Step Instructions
Prepping the Oven and Baking Sheets
Start by preheating your oven to 350°F (175°C). This step is key for even baking. While the oven warms up, line two baking sheets with parchment paper. This helps the cookies not stick.
Making the Cookie Dough
In a large bowl, beat 1 cup of softened unsalted butter with 3/4 cup of brown sugar and 1/2 cup of granulated sugar. Mix until creamy and smooth. Then, add in 1 large egg and 2 teaspoons of vanilla extract. Mix well until everything is combined.
In another bowl, whisk together 2 cups of all-purpose flour, 1/2 teaspoon of baking soda, and 1/2 teaspoon of sea salt. Gradually add this dry mix to the wet ingredients. Stir until just combined. Now, fold in 1 cup of semi-sweet chocolate chips and 1/2 cup of chopped soft caramel candies. Make sure they are spread evenly in the dough.
Baking and Cooling the Cookies
Using a cookie scoop or tablespoon, drop rounded balls of dough onto your baking sheets. Keep them about 2 inches apart. Bake in your preheated oven for 10-12 minutes. The edges should be lightly golden, while the centers might look underbaked. They will firm up as they cool.
As soon as you take the cookies out of the oven, sprinkle a pinch of extra sea salt on top. This adds a great flavor. Let the cookies cool on the baking sheets for 5 minutes before moving them to a wire rack to cool completely. Enjoy your salted caramel chocolate chip cookies!
Tips & Tricks
Ensuring Soft and Chewy Cookies
To get soft and chewy cookies, use room temperature butter. This helps mix well with sugars. Cream the butter and sugars until fluffy. Do not overbake; the cookies will continue to cook on the tray. Let them cool for a few minutes before moving them. This keeps them soft inside.
How to Measure Ingredients Correctly
Accurate measurements make a big difference in baking. Use dry measuring cups for flour and sugar. Level off the top with a knife for exact amounts. For sticky ingredients like brown sugar, pack it tightly into the cup. When measuring flour, spoon it into the cup and level it off. Avoid scooping directly from the bag, as it can pack down the flour.
Common Mistakes to Avoid
One common mistake is using cold butter. It can make mixing difficult and affect texture. Another mistake is not measuring ingredients correctly, which can lead to dry or flat cookies. Don’t skip the sea salt sprinkle; it enhances flavor and balances sweetness. Lastly, be careful not to overmix the dough, as it can make cookies tough.
Pro Tips
- Use Room Temperature Butter: Make sure your butter is softened to room temperature for the best creaming results, which helps to create a light and fluffy cookie texture.
- Chill the Dough: For thicker cookies, chill the cookie dough in the refrigerator for at least 30 minutes before baking. This will help prevent them from spreading too much in the oven.
- Choose Quality Chocolate Chips: Use high-quality semi-sweet chocolate chips for better flavor. You can also mix in dark chocolate or milk chocolate for a variety of tastes.
- Salted Caramel Variations: Experiment with different types of caramel, such as sea salt caramel or chocolate-covered caramel, to enhance the flavor profile of your cookies.
Variations
Adding Nuts or Additional Flavorings
You can add nuts for extra crunch. Chopped walnuts or pecans work well. They add a nice texture. You can also try flavors like almond extract. This gives a unique twist to your cookies. Just use one teaspoon if you add almond extract.
Using Different Types of Chocolate
Mix it up with different chocolates! Dark chocolate chips give a rich taste. Milk chocolate chips offer a sweeter flavor. You can even swirl in white chocolate for a fun look. Combine two or three types for extra flavor.
Gluten-Free Alternative
To make gluten-free cookies, swap all-purpose flour for a gluten-free blend. Make sure it works for baking. Some blends might need extra moisture. Adding a little more butter can help. These cookies will still be soft and tasty!
Storage Info
How to Store Cookies for Freshness
To keep your salted caramel chocolate chip cookies fresh, store them in an airtight container. This method helps lock in moisture. Place a piece of bread in the container. The bread will absorb excess air, ensuring your cookies stay soft for longer. Keep the container at room temperature.
Freezing Cookies for Later Use
You can freeze these cookies for later enjoyment. First, let the cookies cool completely. Then, place them in a single layer on a baking sheet. Freeze them for about an hour. After that, transfer the cookies into a freezer-safe bag or container. They will stay good for up to three months. When you want to eat one, just thaw it at room temperature.
Shelf Life of Baked Cookies
Baked salted caramel chocolate chip cookies last about one week when stored properly. If you keep them in the fridge, they may last a little longer. However, the best taste and texture come from eating them fresh. Enjoy them while they are still soft and warm!
FAQs
Can I use salted butter instead of unsalted?
Yes, you can use salted butter. Just skip the extra sea salt in the recipe. Salted butter adds flavor but can make the cookies taste saltier. If you love a strong taste, go for it!
How do I make the cookies thicker?
To make thicker cookies, try chilling the dough. After mixing, cover it and chill for about 30 minutes. You can also add more flour, but be careful not to add too much. A little extra flour can help make them thick and soft.
What can I substitute for soft caramel candies?
If you don’t have soft caramel candies, try using caramel sauce instead. You can also use toffee bits or chocolate-covered caramel candies. Just make sure whatever you use is soft enough to mix in well.
This blog outlined key ingredients for amazing cookies, like butter, sugars, and chocolate chips. I shared steps to mix and bake, plus tips for soft, chewy results. You can make variations and store your cookies perfectly.
Remember, baking should be fun and rewarding. With practice, you’ll master this recipe. Enjoy your baking journe
<!-- /wp:post-conte